If you are trying to pick between Claude and NotebookLM for research, here is the short answer: use both. NotebookLM is a closed, source-grounded tool that cites every answer back to your uploaded documents. Claude is an open reasoning engine that synthesizes information, writes long-form content, and builds on ideas beyond what your files contain. Neither replaces the other.
The rest of this article breaks down exactly how to set that up, with real workflow examples sourced from Reddit and other community discussions.

Claude vs NotebookLM: Core Differences You Need to Know
The most important thing to understand before comparing these tools is that they solve different problems by design.
NotebookLM is built around one principle: every answer must come directly from your uploaded sources. It will not pull from general knowledge, will not speculate, and will not answer questions your documents cannot support. That constraint is the entire point.
As Reddit users on r/notebooklm have consistently noted, NotebookLM allows uploading large numbers of source files with minimal hallucination and excellent retrieval accuracy. For researchers who cannot afford inaccurate outputs, that reliability is the core selling point.
Claude operates differently. It uses your uploaded files as primary context but freely combines them with its own training knowledge and web search. That flexibility makes it far more capable for writing, synthesis, coding, and ideation. It also means you have to think more critically about where an answer is actually coming from.
Here is how the two tools compare side by side:
NotebookLM vs Claude for Studying: Strengths and Weaknesses
Where NotebookLM Excels
NotebookLM performs best when your sources are clean, organized, and clearly defined. When your materials are organized and thorough, NotebookLM just reframes the content in a way that makes it easier to understand through summaries and mind maps.

Where Claude Excels
Claude pulls ahead the moment your notes are messy, your thinking is incomplete, or you need to produce a deliverable from your research. The moment your sources are scattered and messy, or contain half-finished drafts from different projects, that's when NotebookLM starts to feel uncooperative. Claude is better at synthesizing unorganized and messy notes because it is not strictly source-grounded and has its own knowledge base to pull from as well as real-time web access.

Key strengths for studying and research output:
-
Handles disorganized, multi-format, or incomplete notes without breaking down
-
Explains concepts in layered detail rather than just summarizing existing text
-
Generates drafts, reports, essays, and code directly from research material
-
Accepts custom instructions to define your research methodology, output format, and tone
The Trade-Off in Plain Terms
NotebookLM's hallucination rates on document-specific queries are materially lower than general-purpose LLMs. The source-grounding approach means it cannot make confident claims about things it has not read. The trade-off is speed and flexibility against verifiability and control. Claude gives you the flexibility. NotebookLM gives you the control. The best research workflow uses both.
Claude vs NotebookLM Research Workflow Examples (Reddit-Tested)
The research communities on Reddit and X have spent considerable time figuring out how to combine these two tools. Here are the most practical patterns that have emerged from real users.

Workflow 1: NotebookLM as Home Base, Claude as the Production Engine
This is the most widely recommended combination across r/notebooklm and r/ClaudeAI. The logic is straightforward.
-
Build the knowledge base. Upload all verified sources (papers, reports, transcripts, web pages) into a NotebookLM notebook. This becomes your single source of truth.
-
Query and verify. Ask questions inside NotebookLM, using its citation feature to confirm facts and build accurate understanding before moving forward.
-
Move to Claude for creation. Take that verified understanding into Claude Projects. Use Claude to write the article, draft the proposal, build the prototype, or develop the structured analysis.
-
Return to NotebookLM for review. Bring finished work back into NotebookLM and use Audio Overviews or Slide Decks to review the full picture. Here, you can discover what you missed during the writing phase and hear the connections you didn't explicitly establish during the writing phase.
Workflow 2: Claude as Pre-Processor, NotebookLM as Clean Knowledge Base
Some users, particularly in clinical and academic settings, run this in reverse. They use Claude first to clean and structure messy raw material such as rough notes, interview transcripts, or disorganized drafts, then feed that polished output into NotebookLM as a high-quality source. The result is a cleaner, more reliable notebook from the start.
Workflow 3: Claude Code plus NotebookLM plus Obsidian
A more advanced workflow documented on Reddit's r/ClaudeAI combines Claude Code with a NotebookLM MCP server to fully automate the research-to-notes pipeline. One user described using this setup to process university lecture slides and audio transcripts automatically, routing structured notes directly into an Obsidian knowledge base without any manual copy-paste. The custom Claude Code skill handles the querying and formatting; NotebookLM handles the source grounding.
The Common Reddit Question: Why Use NotebookLM at All if Claude Has Projects?
The answer comes down to citation fidelity and source capacity. Reddit users who have run both consistently point out that NotebookLM enables asking fundamentally different kinds of questions, specifically questions where you need to trust the answer is coming only from your verified sources. Claude Projects is more powerful for general reasoning but does not offer that same strict grounding guarantee.
How to Connect Claude and NotebookLM for a Smarter Workflow
The biggest friction with running both tools used to be the constant manual copy-pasting between tabs. That problem is largely solved now through MCP (Model Context Protocol).
What the MCP Connection Does
Claude does not natively know how to interact with NotebookLM, and NotebookLM does not know how to talk to Claude. An MCP server bridges that gap, allowing Claude to interact directly with NotebookLM and get results back without manually jumping between the two.
Once connected, you can query your NotebookLM notebooks directly from inside Claude's chat window, trigger NotebookLM outputs like study guides or briefing documents, and run cross-notebook synthesis across multiple research projects.
Step-by-Step Setup (Claude Desktop)
The most widely used MCP server for this is the open-source notebooklm-mcp package by Jacob Ben-David, available on GitHub with thousands of stars.
What you need before starting:
-
Claude Desktop app installed
-
Node.js installed (required for the npm package)
-
A Google account with NotebookLM access
-
Basic comfort running terminal commands
Setup steps:
-
Install the notebooklm-mcp npm package via your terminal
-
Run the authentication command, which opens a browser window for a one-time Google login. Do not close the browser window during this step or authentication will fail
-
Create a configuration file to let Claude Desktop know about the MCP server by adding the MCP server path so Claude knows where to find it
-
Save the config and restart Claude Desktop
-
After restarting, a new tool icon appears in the Claude interface confirming the connection is active
Shortcut for Claude Desktop users: A one-click install option is available as a downloadable extension file (.mcpb) that requires no manual configuration.
The full setup takes roughly 10 to 15 minutes for most users.
What You Can Do Once Connected
With the MCP server running, practical use cases from the community include:
-
Running a query like "Summarize the key findings across all my research notebooks" and getting a cohesive answer pulled from every connected document
-
Triggering NotebookLM to generate a podcast overview or briefing document from inside Claude
-
Asking Claude to research your NotebookLM sources deeply and then auto-generate a presentation deck grounded in your actual material, not generic summaries
-
Cross-notebook synthesis to surface patterns across multiple separate research projects
No MCP? The Manual Workflow Still Works
If you prefer not to set up the MCP integration, a clean manual workflow is straightforward:
-
Research and verify facts in NotebookLM
-
Copy key summaries or findings into a Claude Project's knowledge base
-
Set a system prompt in Claude defining your research role and output format
-
Use Claude to generate your final deliverable from that grounded material
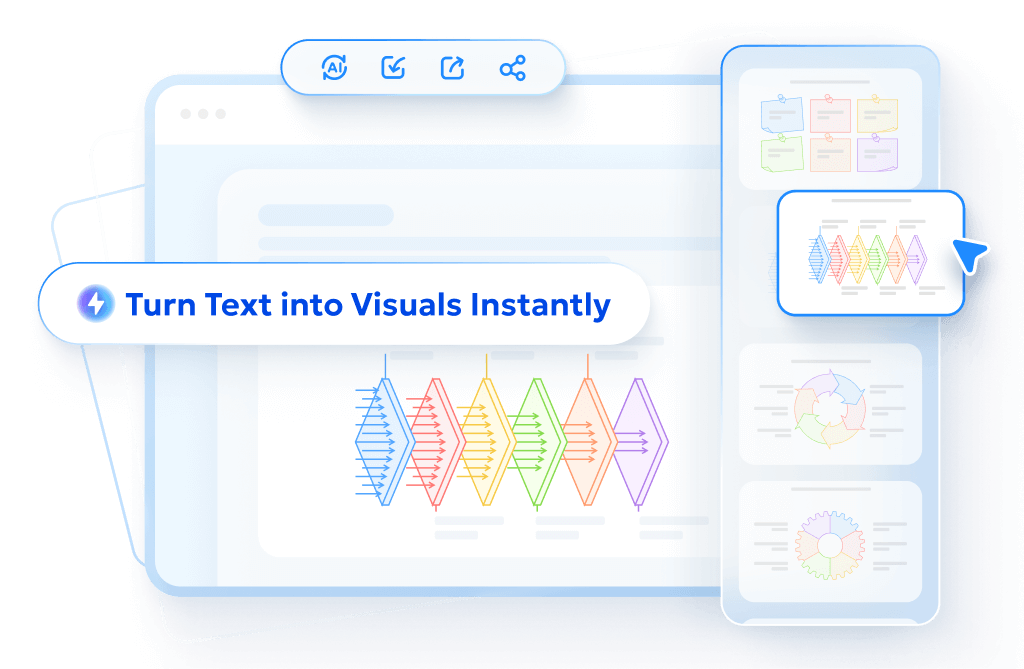
Create Better Visuals for Your Research with Diagrimo

Good research deserves a clear presentation. Whether you are turning a literature review into a shareable report, mapping out a conceptual framework, or preparing materials for a team, a well-designed visual makes complex information faster to absorb.

Diagrimo is a text-to-visual tool that generates clean, polished diagrams from a plain-text description. No design background needed.
Here is where it fits into a research workflow:
-
Concept maps: Visualize relationships between key themes or ideas from your NotebookLM notebooks
-
Comparison charts: Turn a Claude-generated analysis into a clear side-by-side visual
-
Timeline diagrams: Map out research phases, literature chronologies, or project milestones
-
Mind maps: Organize brainstormed ideas from a Claude session into a structured visual
-
Presentation visuals: Convert research findings into slide-ready diagrams before moving them into a deck
Final thoughts
Claude and NotebookLM cover different parts of the research process. NotebookLM keeps your work grounded in verified sources; Claude helps you think through ideas and produce real outputs from what you have learned. Running both tools together, connected through MCP or a clean manual handoff, gives you a research stack that is both accurate and productive. Add Diagrimo at the output stage for visuals that make your findings easy to share and understand.
- AI text-to-visuals turns ideas into diagrams or infographics.
- Customizable styles match your brand and presentation tone.
- Share anytime by exporting in various formats and a link.
- No design skills needed for presentations, teaching, or reports.
FAQs
-
Is NotebookLM better than Claude for research?
Can I use Claude and NotebookLM together?
How do I connect Claude to NotebookLM?
Does NotebookLM have a free plan?
What is Claude Projects?
Is Claude Projects free?
It depends on the task. NotebookLM is better for citation-heavy fact-checking within a defined document set. Claude is better for synthesis and generating outputs from messy or incomplete notes.
Yes. The standard approach is to verify facts in NotebookLM first, then move to Claude to write, analyze, or build on that grounded research.
Use the open-source notebooklm-mcp server on GitHub. Setup takes about 10 to 15 minutes and requires Claude Desktop, Node.js, and a one-time Google login.
Yes. NotebookLM has a generous free tier. The Plus plan costs $19.99 per month via a Google One AI subscription.
Claude Projects is a workspace feature that lets you upload files and set custom instructions for ongoing sessions. Unlike NotebookLM, it can draw on Claude's broader training knowledge and web access.
From February 2026, Claude Projects is available to free users with up to five projects. A Claude Pro subscription at $20 per month removes those limits.
